Selectable Edge Headings
During the creation of a straight track Path Plan, Launch Pad calculates the top 5 straight edges of a boundary. These edges can be selected by the user via the heading dropdown or with a map layer interaction.
Selectable edge headings represent a line of best fit for the selected boundary edge. Our Path Planning software calculates these lines, and then matches straight tracks to the selected precision heading. Overlap is minimized on the selected edge side, and biased towards the opposite edge of the field.
Path Planner as a default selects the longest straightest edge candidate. This is denoted by the thick red line, with white anchor nodes.
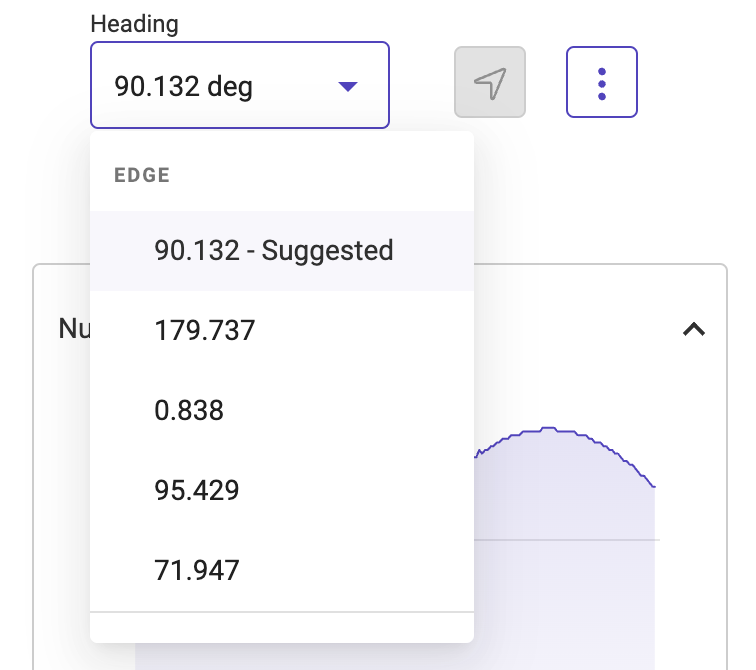
Heading Dropdown
Selectable edge headings are added to the Headings dropdown menu of the main path planning panel.
To select and edge:

*Selectable Edge Headings are distinguishable as they are precision numbers with up to four decimal place precision.
Selectable Edge - Map Layer Interaction
Selectable Edge Headings are quickly selectable via map layer interaction. Once a path plan is generated, the user will be presented with a straight track path plan. Selectable edge candidates are displayed as red portions of the boundary.
Path Planner as a default, selects the longest straightest edge candidate. This is denoted by the thick red line, with white anchor nodes.
When a user holds the pointer (mouse) over a selectable red edge, Launch Pad will display a dashed white line. This line represents the line of best fit for a selectable edge.
To select an edge:
- Select a field and generate a path plan
- Once the plan is at the review stage, hover the mouse over a selectable boundary edge to view the line of best fit
- click to select a precision edge heading.
Related Articles
Edit Boundary (Split, Add additional Polygons, Edit Existing Boundary Or, Add an alternative Boundary)
To Edit an Existing Boundary Navigate to the Land page by clicking Menu>Land Select the field to be edited Click on the pencil icon under Boundary Actions Select the polygon to be edited and the vertices will display click and hold on any of the ...How to Edit a Path Plan
How to edit a Path Plan Please follow the steps below to edit a Path Plan. To Edit a Path Plan Navigate to the Plans Page Select the "Show Details" button at the bottom of the Plan tile Click on Edit in the lower Left From the Edit page a user can ...Custom Offset Heading
Custom Offset Heading Custom Offset Heading allows users to enter a shift by degrees to the heading of a Path Plan. This allows the user to input a degree of offset from the current or custom heading. NOTE: This Feature requires a starting heading to ...Custom Heading
Custom Heading Custom Heading allows users to enter a heading up to 4 decimal precision. This allows the user to request a specific heading to fine tune the alignment of the guidance line. The user can also manually enter the Latitude and Longitude ...Use the latitude and longitude of an AB line as a reference
Introduction Launch Pad users have the ability to input their own AB line coordinates while creating Path Plans. The goal is to align with their current practices in the field. The inputs for AB lines can be found under the custom heading toggle ...